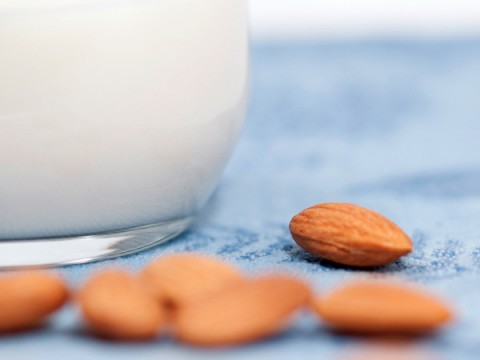
How to Make Almond Milk!

Almond milk seems to be the dairy-free alternative of choice at the moment, and the perceptive among us may have noticed an increase in the number of long-life almond milk options available in the supermarkets over the past few months!

It’s a great milk to add some variety to you diet and the long-life versions are useful to have on hand just in case, but the REAL thing is much, much better and incredibly simple to make. So today I’d like to share with you: how I make almond milk!

What you’ll need:

♥ 1 cup of almonds
♥ 2-6 parts of water per 1 part almonds (it’s super rich, so I’d say go with more water to start with)
♥ Nut milk bag (I was sent one from WA brand Living Synergy, which does a great job)
♥ Optional: Vanilla pods, dates, honey, stevia etc for sweetening and experimenting!

Activate the Almonds!

The first thing to do is soak a cup full of almonds overnight (or for 8 hours) in a bowl of water so they activate. Since an almond (or any other nut) is a seed, it wont grow unless it’s watered. However, once water (or soaked in water in our case), the enzymes and crazy powers that cause a plant to grow are activated, and thus the nutrients become more bioavailable. Plus for this purpose it softens up the nut and makes it able to be made into milk! I activate even my snack almonds now, as I love the softer, easier to chew texture.

The next day: you should be able to see in the above pic that the almonds are looking a bit fatter and swollen. They’re activated!

Blendy Blend Blend.

Next up, tip out the old water into the sink and pop almonds into a blender. Add 2-6 parts water to the blender, I found 2 cups water to 1 cup almonds still quite rich so would recommend 3+ cups of water. Blend on high for 2-3 minutes to make sure the almonds are fully blended.

Should look a lil like this!

Yum!

Nut Milk vs Nut Milk Bag

Next, position the nut milk bag over a jug, folding the sides of the bag over the sides of the jug so it doesn’t slip, and pour the almond milk into the bag/jug. You should see most of it filter through, but now comes the fun part!

Squeeze and knead the almond pulp that is left in the bag, it’s kinda like milking a cow (!!), and keep squeezing and mooshing it until it’s all gone and you’re left with dry almond meal which should look like…

This!

For a yummy recipe that uses up your leftover almond meal check out this nut pulp macaroon recipe! I also like to pop a little bit back into the banana smoothie that I inevitably make straight after finishing a batch of milk.

So THAT’S IT! Super simple, and you can keep it in the fridge for a couple of days, but the sooner you drink it up the better.

You can use it in smoothies, on muesli, or anything else you’d usually use milk for, but between me and you I like making a smoothie the most. It is VERY filling though, so be warned:)

The Living Synergy Nut Milk Bag is about $17 and stockists can be found via their website. There are also videos on the site to help you with whipping up your first batch!

Have I inspired you to make some almond milk? Ever even heard of almond milk before? Lets chat about nut milks.

Be well,

Annette

xoxo